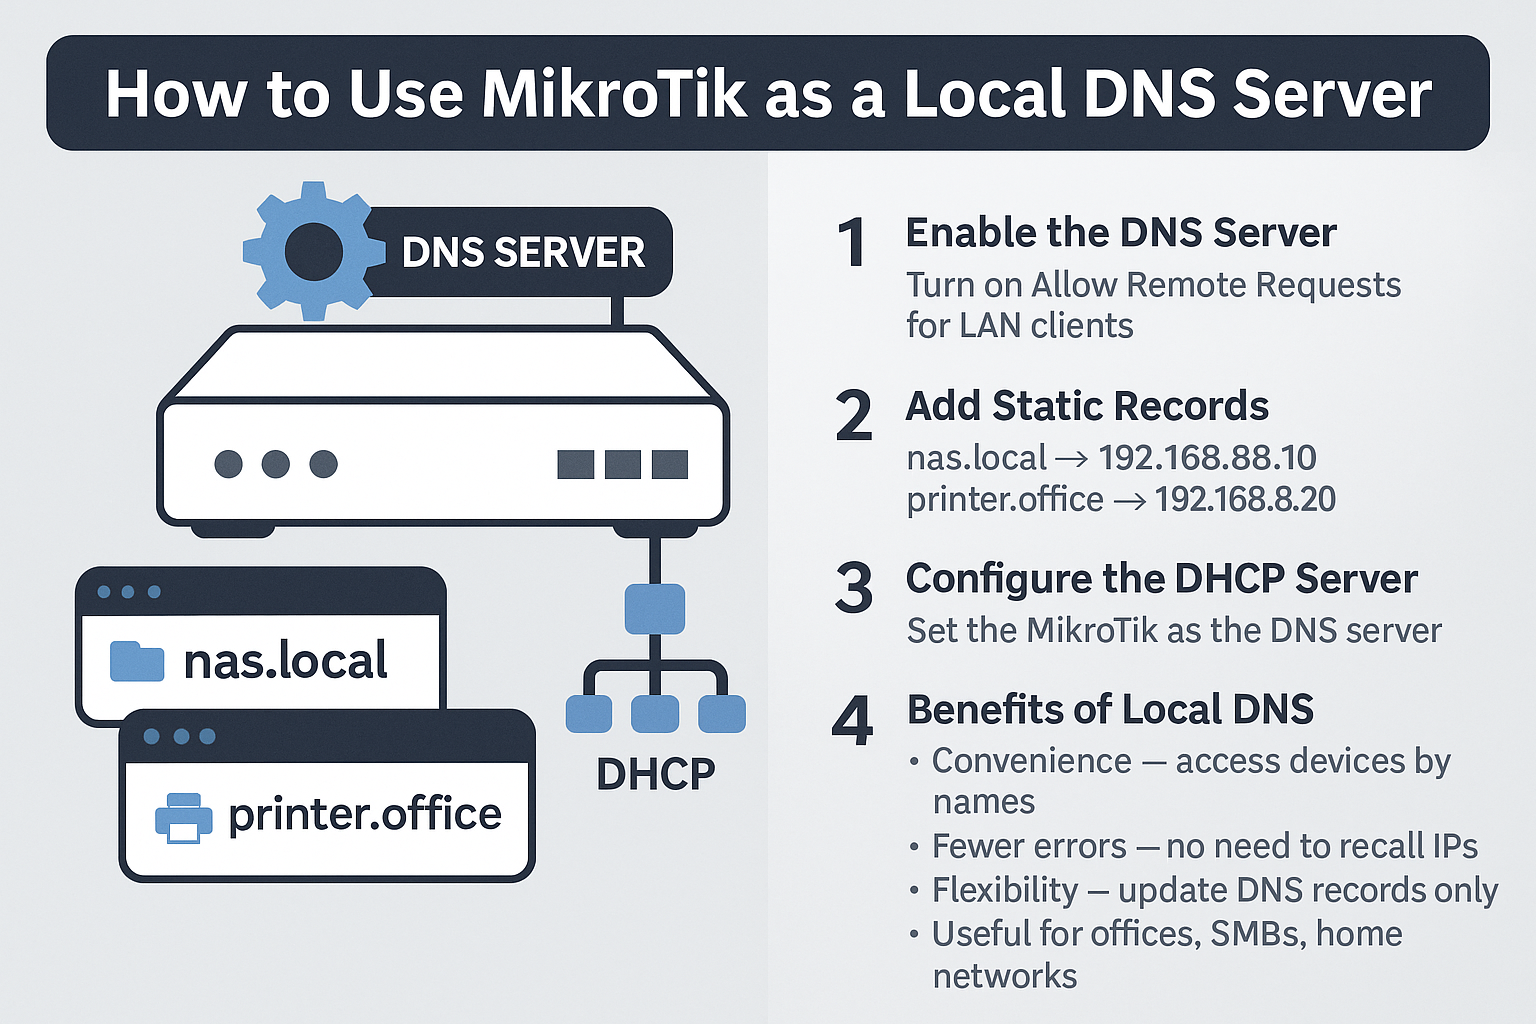
MikroTik DNS setup: enable Allow Remote Requests, add static DNS records, set DHCP. Reach devices by name instead of IP in your office or SMB network.
Sep 17, 2025
Every small or medium-sized business relies on multiple devices in the network – servers, NAS units, routers, and printers. Often these are accessed only by IP addresses, which is inconvenient and hard to remember.
With MikroTik, you can easily configure a local DNS and
use names like nas.local instead of 192.168.88.10.
This makes management faster and access to resources much more convenient.
For more on network security, check out our article on
WireGuard vs OpenVPN.
Go to IP → DNS and enable Allow Remote Requests. This allows LAN clients to use the router for DNS resolution.
In IP → DNS → Static add custom entries, for example:
nas.local → 192.168.88.10printer.office → 192.168.88.20intranet.local → 192.168.88.50From now on, devices can be reached by their hostname instead of their IP address.
In IP → DHCP Server → Networks set the MikroTik as the DNS server (e.g., 192.168.88.1). All LAN clients will then automatically receive it via DHCP.
Using MikroTik as a local DNS server is a simple but powerful configuration that makes networks more convenient and user-friendly. If you’d like to set up a secure and flexible network infrastructure, our team can help with MikroTik configuration and support.