A practical guide to blocking access when a former coworker has seen your IP, configuration, or has old VPN keys. Includes sample commands, firewall/NAT, loggin…
A practical guide to blocking access when a former coworker has seen your IP, configuration, or has old VPN keys. Includes sample commands, firewall/NAT, logging, and Zero-Trust hardening.
⚠ Scenario: a former coworker had access to company information, saw your home IP, or used a VPN tunnel while working. After they leave, that access must be fully revoked on your home MikroTik.
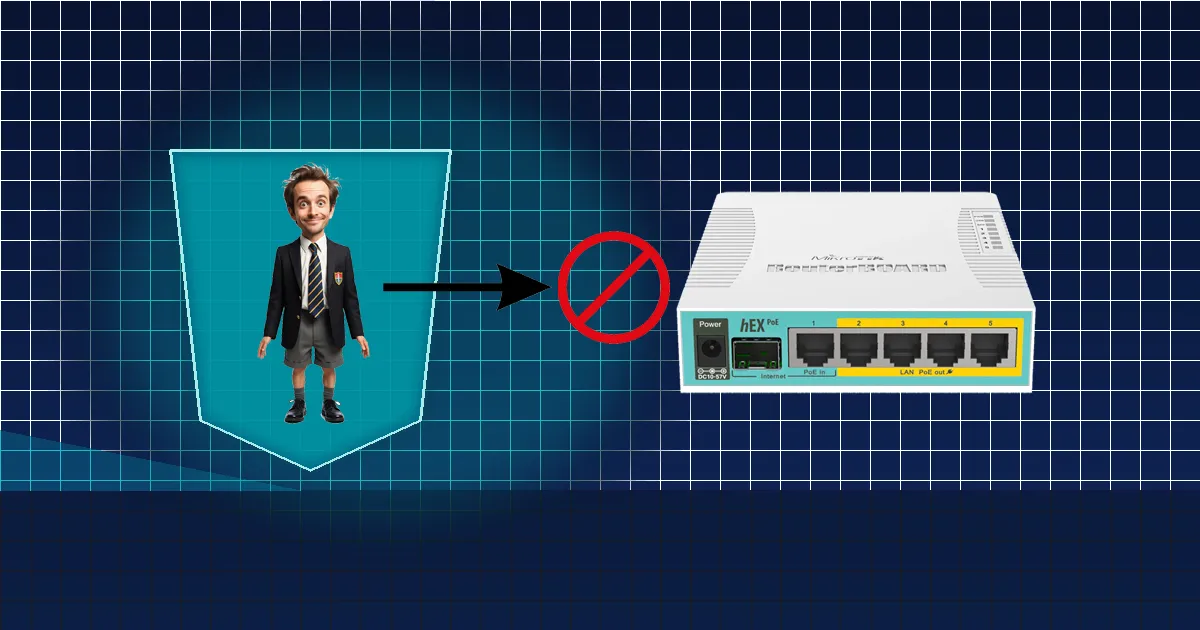
Home routers are often left with old corporate settings. But even a single stale peer entry or known public IP can be used for access by a former coworker. Here’s how to secure it quickly and effectively.
When a former coworker has seen details about your home network (IP, VPN configuration, shared passwords, or a settings backup), they may:
Even without malicious intent, leftover access is a risk — it must be removed completely.
/export file=backup-before-change
/user set admin password="NewStrongPassword!2025"
/ip service set [find name=winbox] address=192.168.88.0/24
/ip service set [find name=ssh] address=192.168.88.0/24
/ip service set [find name=www] address=192.168.88.0/24
/ip firewall address-list add list=BlockOffice address=46.55.253.0/24 comment="Blocked office access"
/ip firewall filter add chain=input src-address-list=BlockOffice action=drop comment="Block office IPs"
/interface disable [find name~"l2tp-client"]
/interface wireguard peers remove [find comment~"office"]
Enable logs and watch for failed attempts or suspicious IP addresses:
/system logging add topics=firewall,info action=memory
/log print where message~"failed" or message~"input"
/ip firewall address-list add list=Suspicious address=1.2.3.4 comment="Access attempt by former coworker"
rate-limit rules).Assume a former coworker — let’s call him “Mitko” — once had access to company configs and saw your home IP. After leaving, he decides to check whether your router still “responds.” In the logs, you might notice:
That’s why the first steps — blocking, rotating passwords, and disabling VPNs — are critical. They take effect immediately, even if the IP changes.
/export file=backup, you can safely restore everything.This is an “all-in-one” hardening set: new protected account, disable admin, turn off unused services, port-scan traps, brute-force blocking for WinBox/SSH, stop VPN clients/peers, hide MAC access, and a final default DROP.
:local LAN "192.168.88.0/24"
:local NEWUSER "secureadmin"
:local NEWPASS "Ultra!Secure#2025"
/export file=pre-hardening-backup
/user add name=$NEWUSER group=full password=$NEWPASS
/user disable admin
/ip service set winbox address=$LAN
/ip service set ssh address=$LAN
/ip service set www address=$LAN
/ip service set api disabled=yes
/ip service set api-ssl disabled=yes
/ip service set telnet disabled=yes
/ip service set ftp disabled=yes
/tool mac-server set allowed-interface-list=none
/tool mac-server mac-winbox set allowed-interface-list=none
/ip neighbor discovery-settings set discover-interface-list=none
/ip firewall address-list remove [find list=ssh_stage1]
/ip firewall address-list remove [find list=ssh_stage2]
/ip firewall address-list remove [find list=ssh_stage3]
/ip firewall address-list remove [find list=ssh_blacklist]
/ip firewall address-list remove [find list=portscan-blacklist]
/ip firewall filter add chain=input connection-state=invalid action=drop comment="Drop invalid"
/ip firewall filter add chain=input connection-state=established,related action=accept comment="Allow established/related"
/ip firewall filter add chain=input src-address=$LAN action=accept comment="Allow LAN"
/ip firewall filter add chain=input protocol=icmp action=accept comment="Allow ICMP (ping)"
/ip firewall filter add chain=input protocol=tcp dst-port=23,8080,8291 src-address-list=!LAN action=add-src-to-address-list address-list=portscan-blacklist address-list-timeout=7d comment="Honeypot: scanners -> blacklist"
/ip firewall filter add chain=input src-address-list=portscan-blacklist action=drop comment="Drop scanners"
/ip firewall filter add chain=input protocol=tcp dst-port=22,8291 src-address-list=ssh_blacklist action=drop comment="Drop brute-force"
/ip firewall filter add chain=input protocol=tcp dst-port=22,8291 connection-state=new src-address-list=ssh_stage3 action=add-src-to-address-list address-list=ssh_blacklist address-list-timeout=1d comment="Stage3 -> blacklist"
/ip firewall filter add chain=input protocol=tcp dst-port=22,8291 connection-state=new src-address-list=ssh_stage2 action=add-src-to-address-list address-list=ssh_stage3 address-list-timeout=1m comment="Stage2 -> Stage3"
/ip firewall filter add chain=input protocol=tcp dst-port=22,8291 connection-state=new src-address-list=ssh_stage1 action=add-src-to-address-list address-list=ssh_stage2 address-list-timeout=1m comment="Stage1 -> Stage2"
/ip firewall filter add chain=input protocol=tcp dst-port=22,8291 connection-state=new action=add-src-to-address-list address-list=ssh_stage1 address-list-timeout=1m comment="New -> Stage1"
/ip firewall filter add chain=input action=drop comment="DROP everything else"
/interface disable [find where name~"l2tp|pptp|sstp|ovpn|wg"]
/interface wireguard peers remove [find]
/certificate remove [find comment~"office"]
/system logging add topics=firewall,info action=memory
/log print where message~"login" or message~"failed"
⚠ Warning: after applying “Concrete defense,” external access is blocked by default (LAN only). For remote access, use a secure tunnel (e.g., WireGuard to a jump host) and update the rules.
Write to office@ntg.bg or book a consultation.
Tip: block access immediately — don’t wait for proof of a breach. Prevention saves headaches later.